Skip to product information
1 of 9

PayPal, credit cards. Download editable-PDF and invoice in 1 second!

GB/T 40385-2021 English PDF (GBT40385-2021)

GB/T 40385-2021 English PDF (GBT40385-2021)

Regular price $260.00 USD
Regular price Sale price $260.00 USD
Sale Sold out
Shipping calculated at checkout.
Delivery: 3 seconds. Download true-PDF + Invoice.
Get QUOTATION in 1-minute: Click GB/T 40385-2021
Historical versions: GB/T 40385-2021
Preview True-PDF (Reload/Scroll if blank)

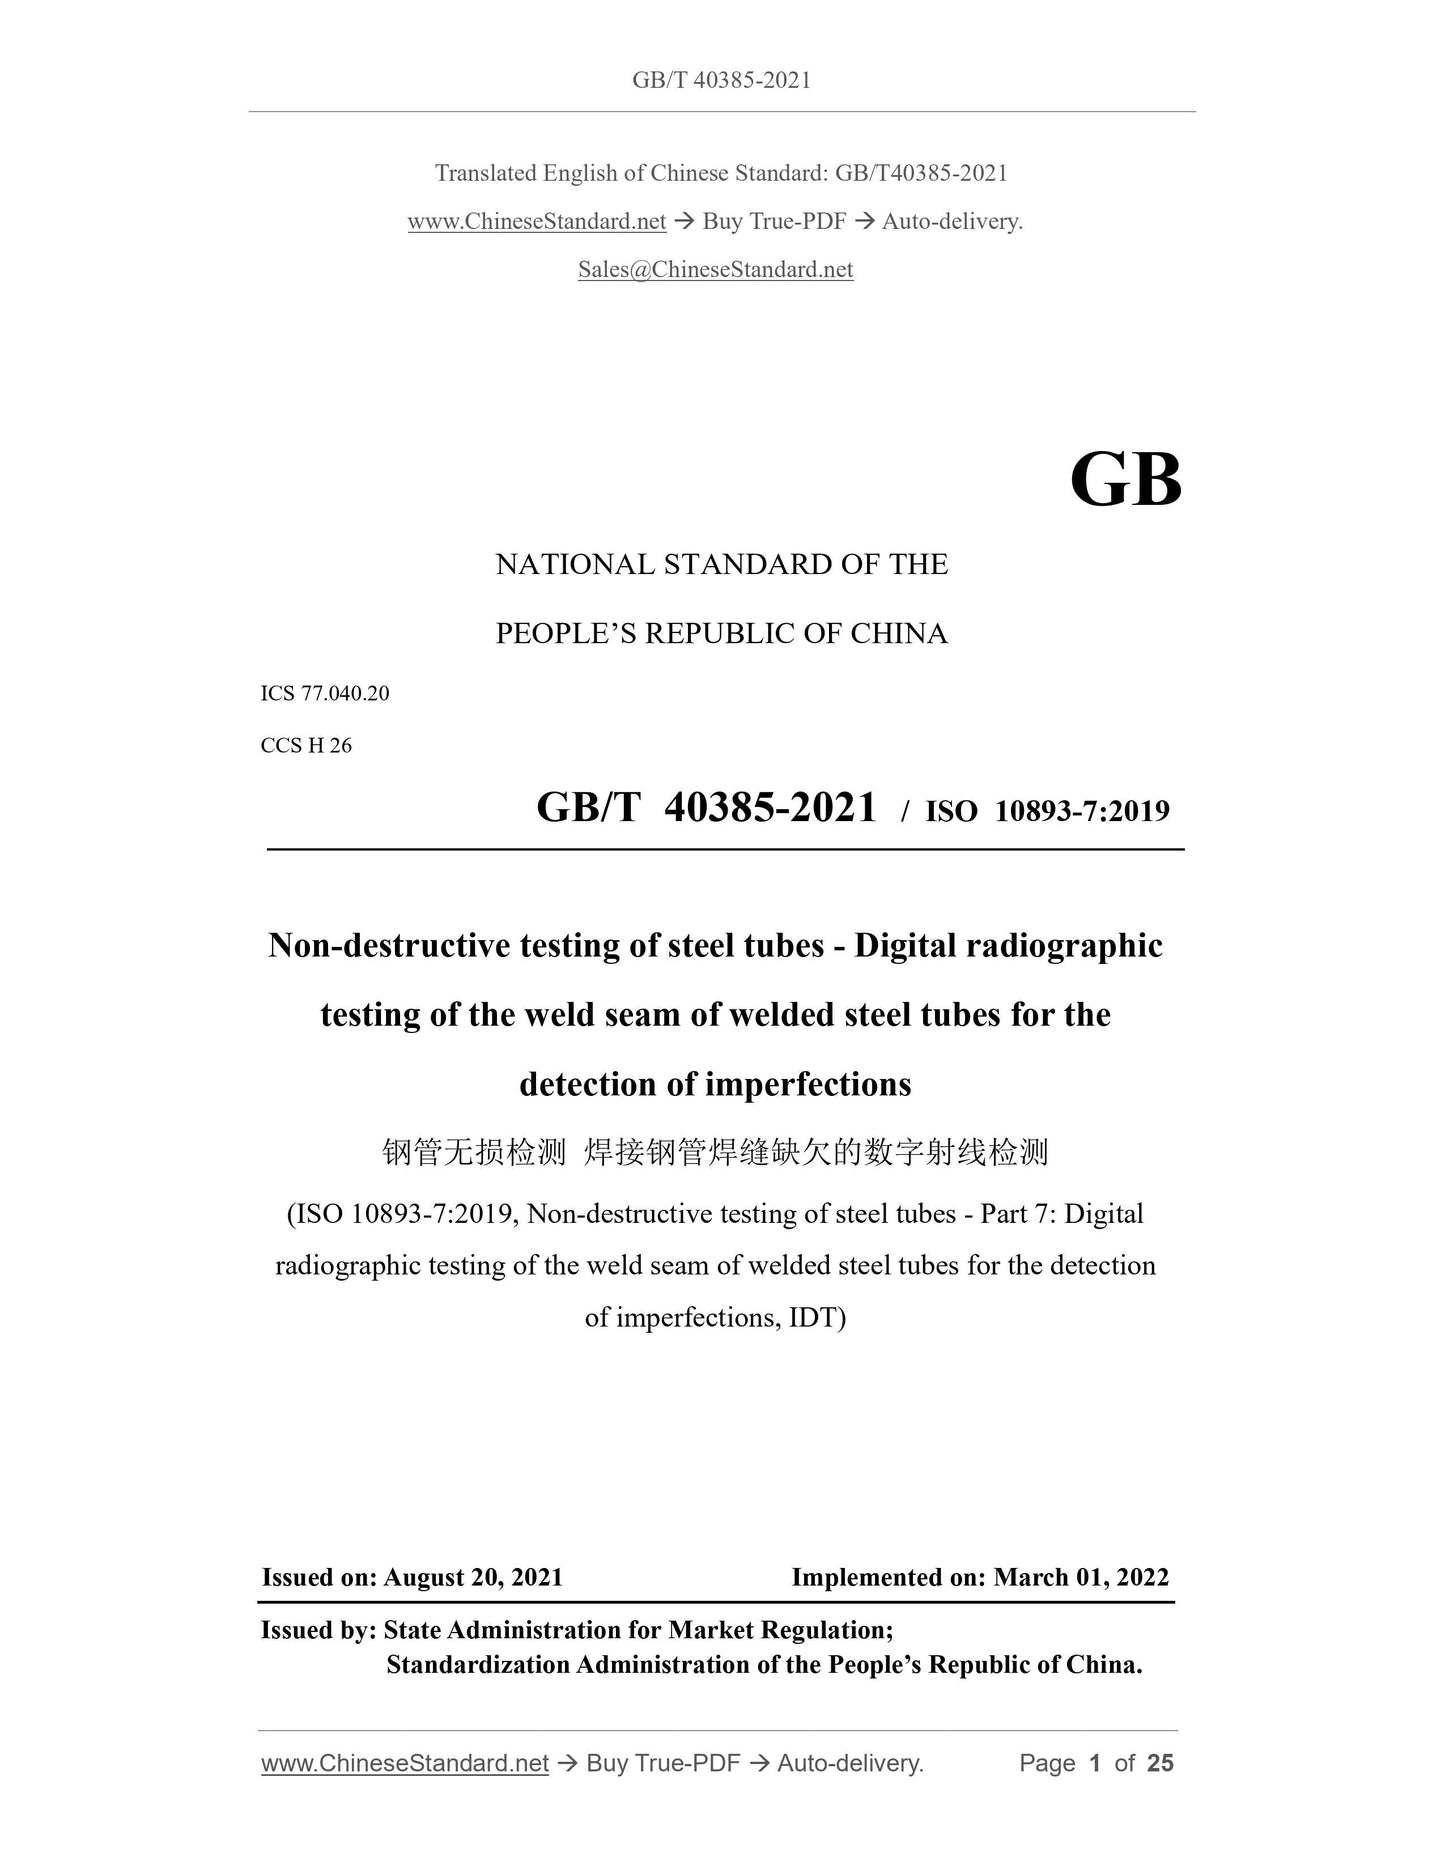
GB/T 40385-2021: Non-destructive testing of steel tubes -- Digital radiographic testing of the weld seam of welded steel tubes for the detection of imperfections
GB/T 40385-2021
GB
NATIONAL STANDARD OF THE
PEOPLE’S REPUBLIC OF CHINA
ICS 77.040.20
CCS H 26
GB/T 40385-2021 / ISO 10893-7:2019
Non-destructive testing of steel tubes - Digital radiographic
testing of the weld seam of welded steel tubes for the
detection of imperfections
(ISO 10893-7:2019, Non-destructive testing of steel tubes - Part 7: Digital
radiographic testing of the weld seam of welded steel tubes for the detection
of imperfections, IDT)
ISSUED ON: AUGUST 20, 2021
IMPLEMENTED ON: MARCH 01, 2022
Issued by: State Administration for Market Regulation;
Standardization Administration of the People’s Republic of China.
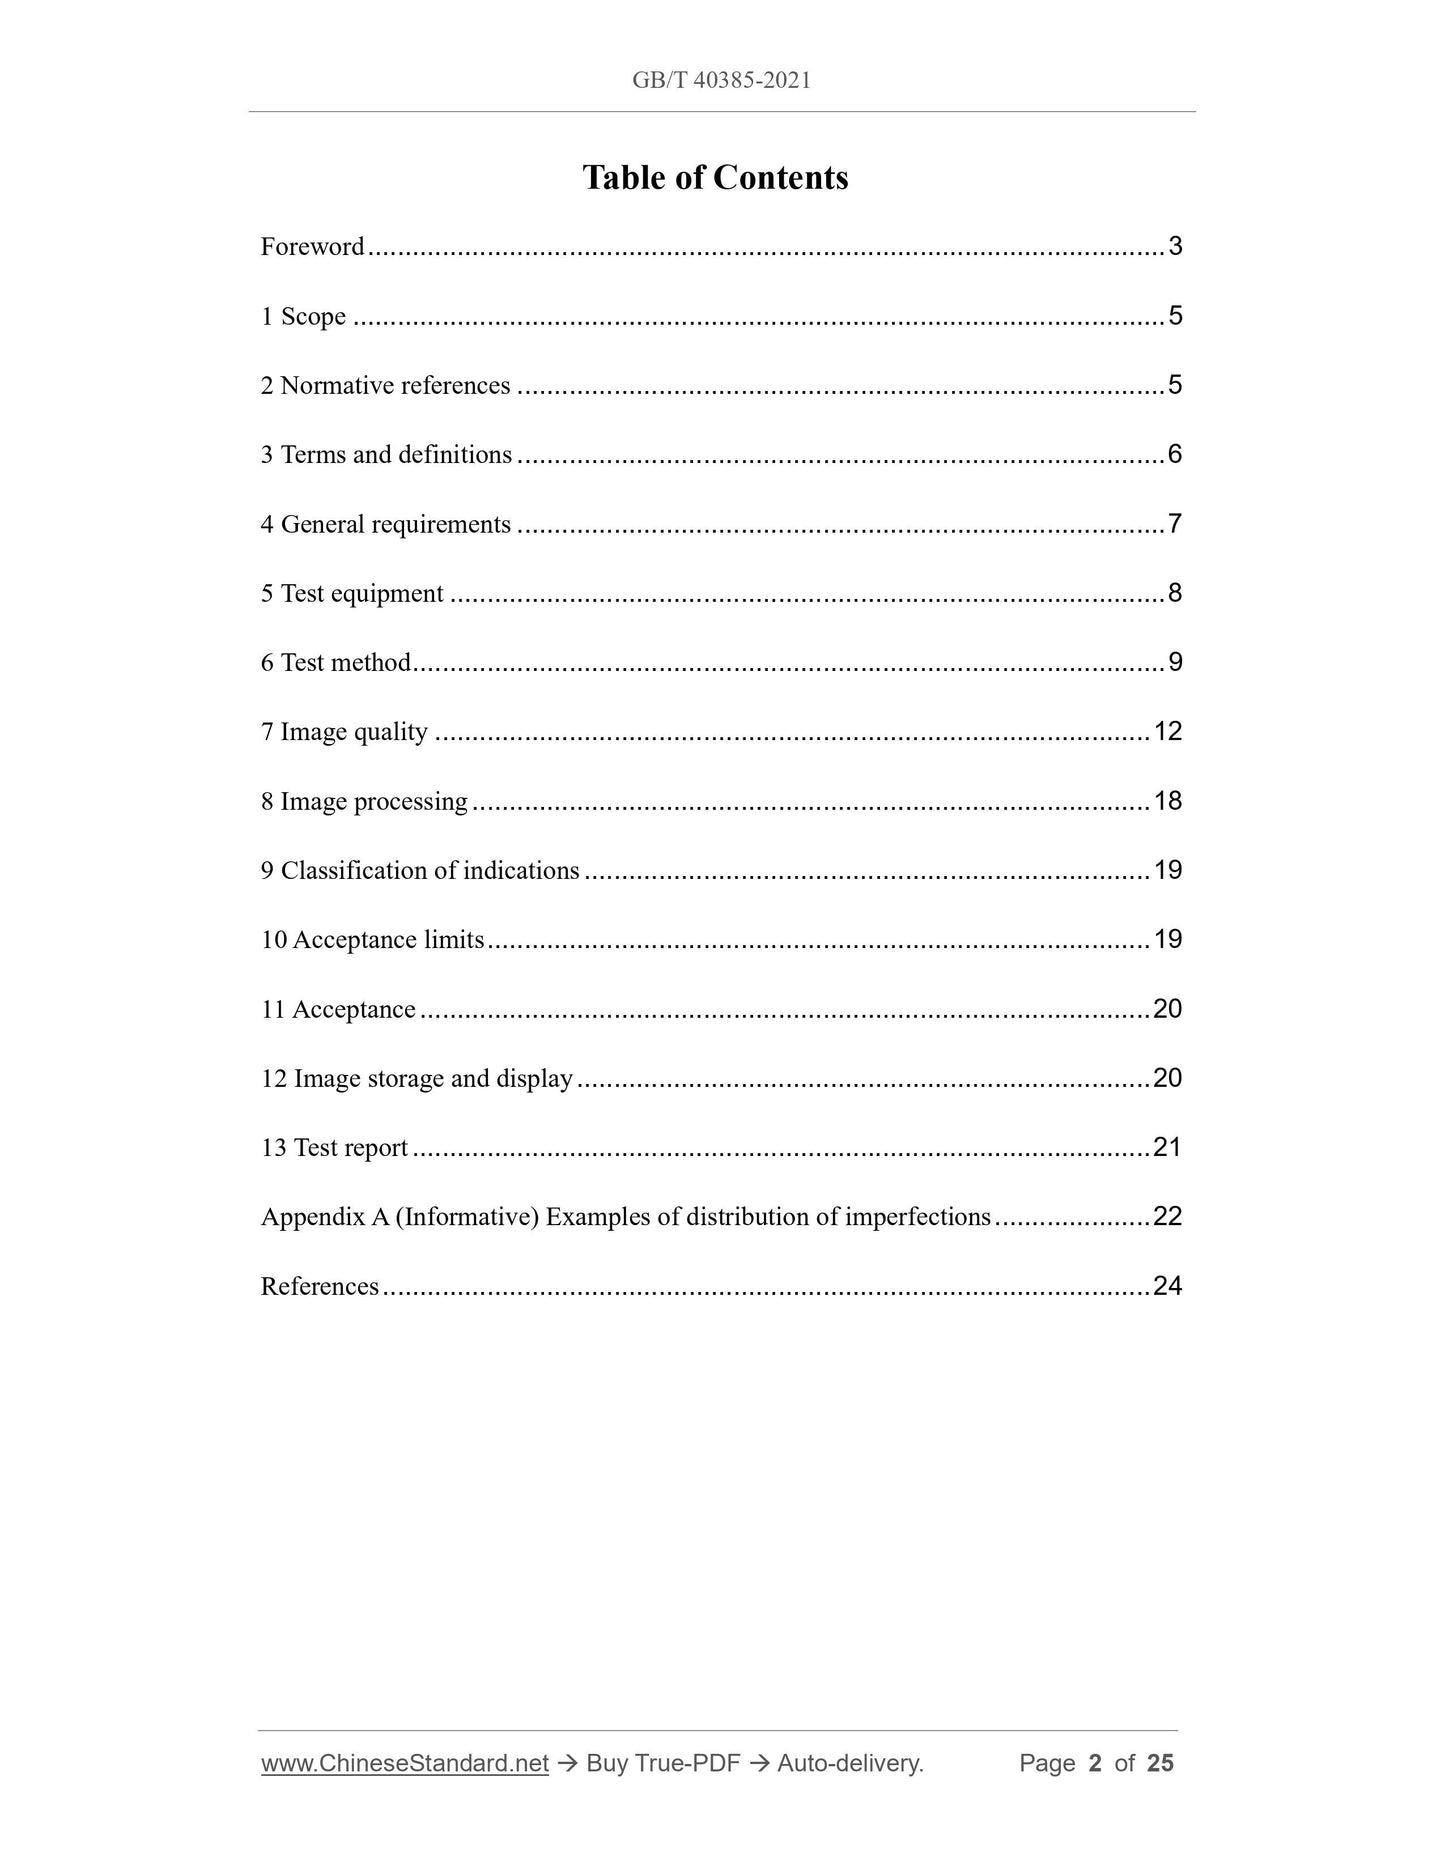
Table of Contents
Foreword ... 3 
1 Scope ... 5 
2 Normative references ... 5 
3 Terms and definitions ... 6 
4 General requirements ... 7 
5 Test equipment ... 8 
6 Test method ... 9 
7 Image quality ... 12 
8 Image processing ... 18 
9 Classification of indications ... 19 
10 Acceptance limits ... 19 
11 Acceptance ... 20 
12 Image storage and display ... 20 
13 Test report ... 21 
Appendix A (Informative) Examples of distribution of imperfections ... 22 
References ... 24 
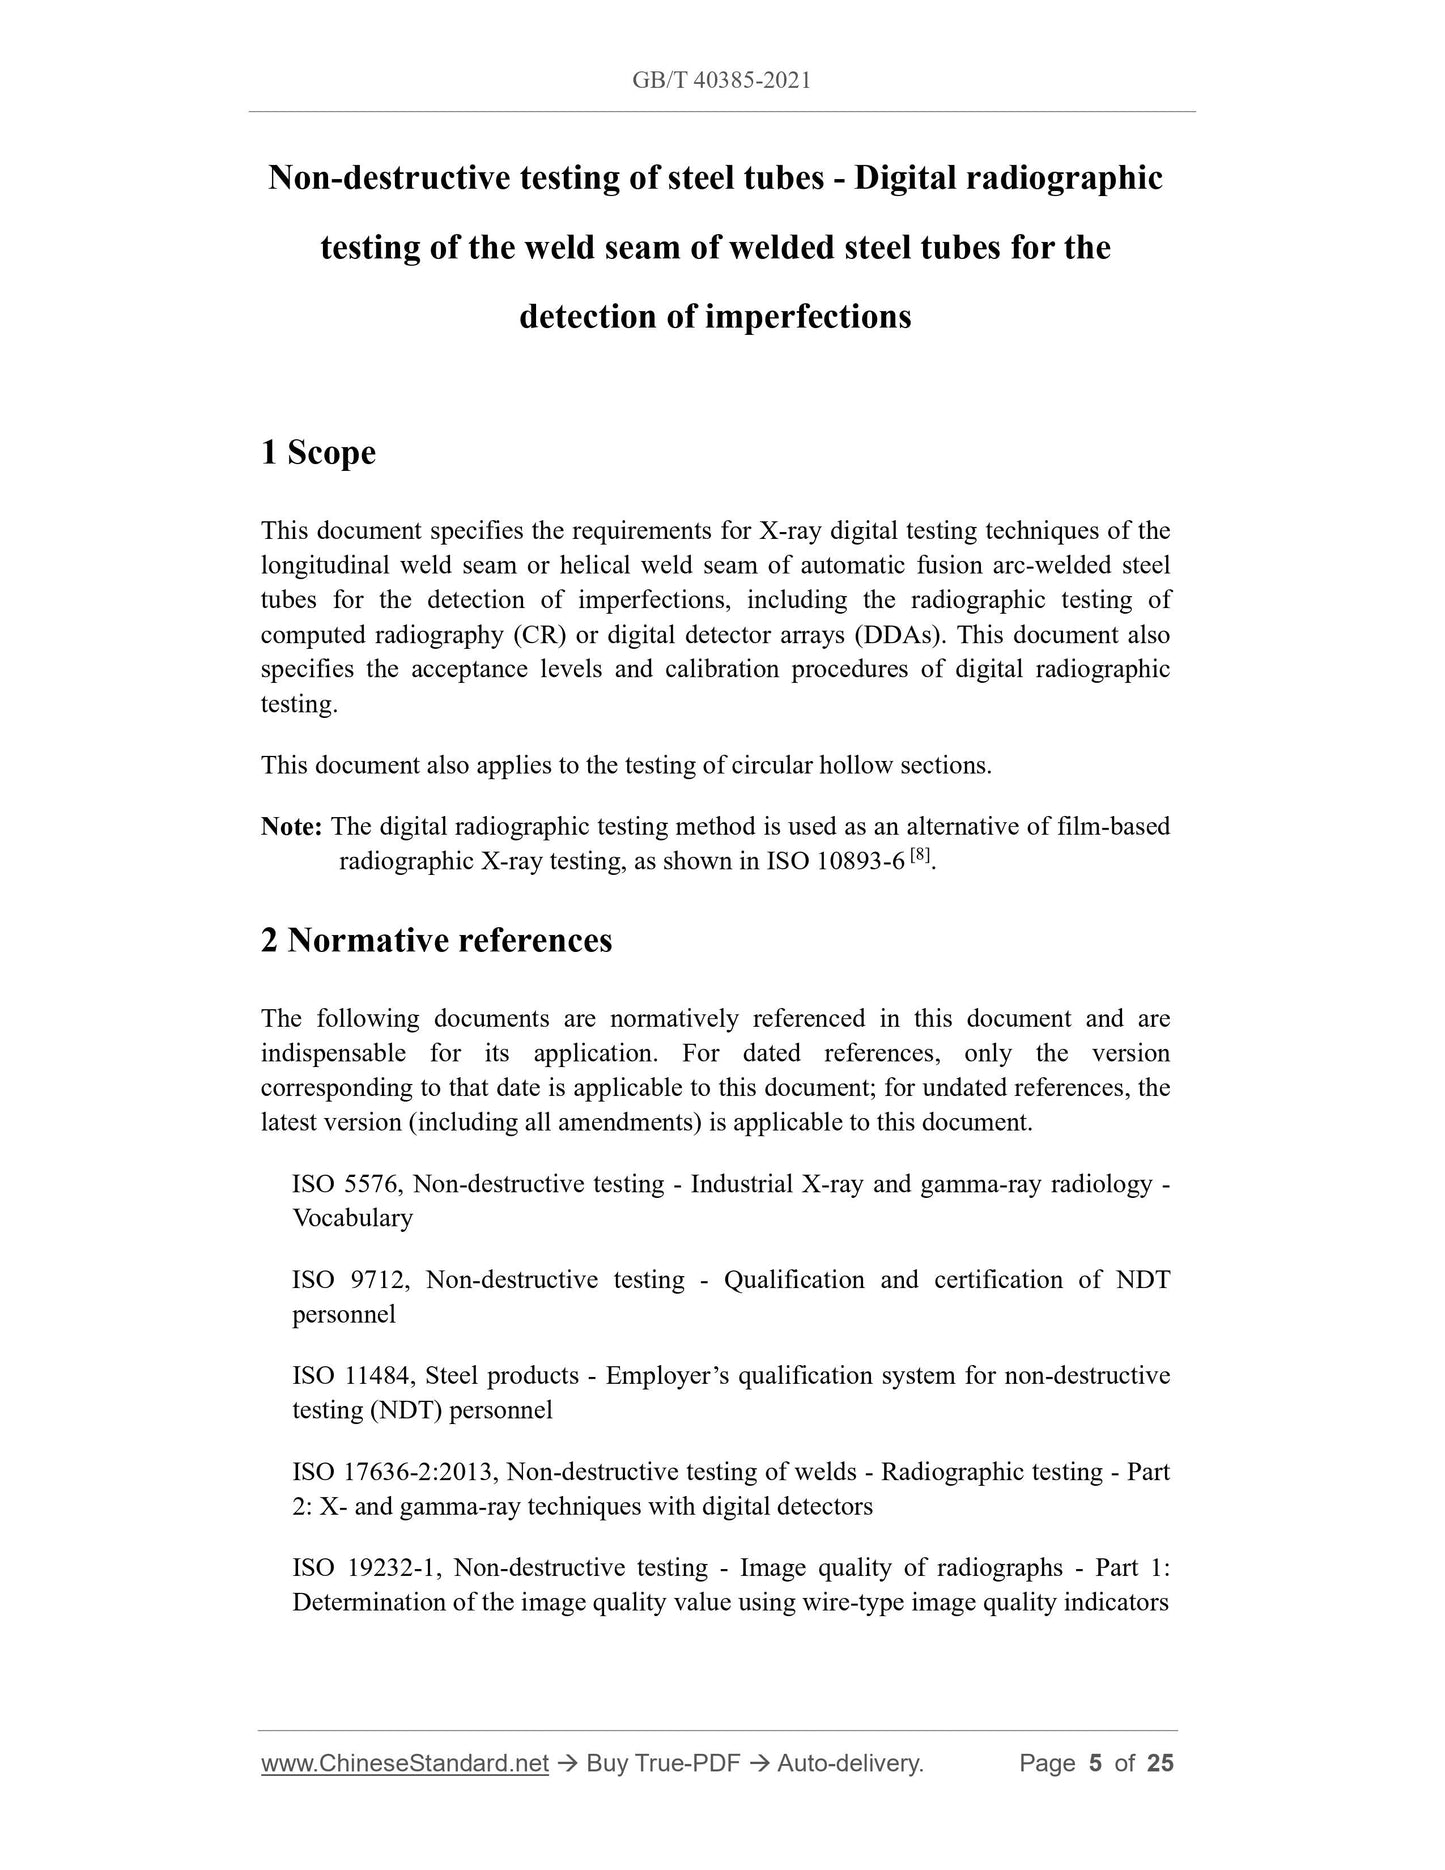
Non-destructive testing of steel tubes - Digital radiographic
testing of the weld seam of welded steel tubes for the
detection of imperfections
1 Scope
This document specifies the requirements for X-ray digital testing techniques of the
longitudinal weld seam or helical weld seam of automatic fusion arc-welded steel
tubes for the detection of imperfections, including the radiographic testing of
computed radiography (CR) or digital detector arrays (DDAs). This document also
specifies the acceptance levels and calibration procedures of digital radiographic
testing.
This document also applies to the testing of circular hollow sections.
Note: The digital radiographic testing method is used as an alternative of film-based
radiographic X-ray testing, as shown in ISO 10893-6 [8].
2 Normative references
The following documents are normatively referenced in this document and are
indispensable for its application. For dated references, only the version
corresponding to that date is applicable to this document; for undated references, the
latest version (including all amendments) is applicable to this document.
ISO 5576, Non-destructive testing - Industrial X-ray and gamma-ray radiology -
Vocabulary
ISO 9712, Non-destructive testing - Qualification and certification of NDT
personnel
ISO 11484, Steel products - Employer’s qualification system for non-destructive
testing (NDT) personnel
ISO 17636-2:2013, Non-destructive testing of welds - Radiographic testing - Part
2: X- and gamma-ray techniques with digital detectors
ISO 19232-1, Non-destructive testing - Image quality of radiographs - Part 1:
Determination of the image quality value using wire-type image quality indicators
ISO 19232-2, Non-destructive testing - Image quality of radiographs - Part 2:
Determination of the image quality value using step/hole-type image quality
indicators
ISO 19232-5, Non-destructive testing - Image quality of radiographs - Part 5:
Determination of the image unsharpness and basic spatial resolution value using
duplex wire-type image quality indicators
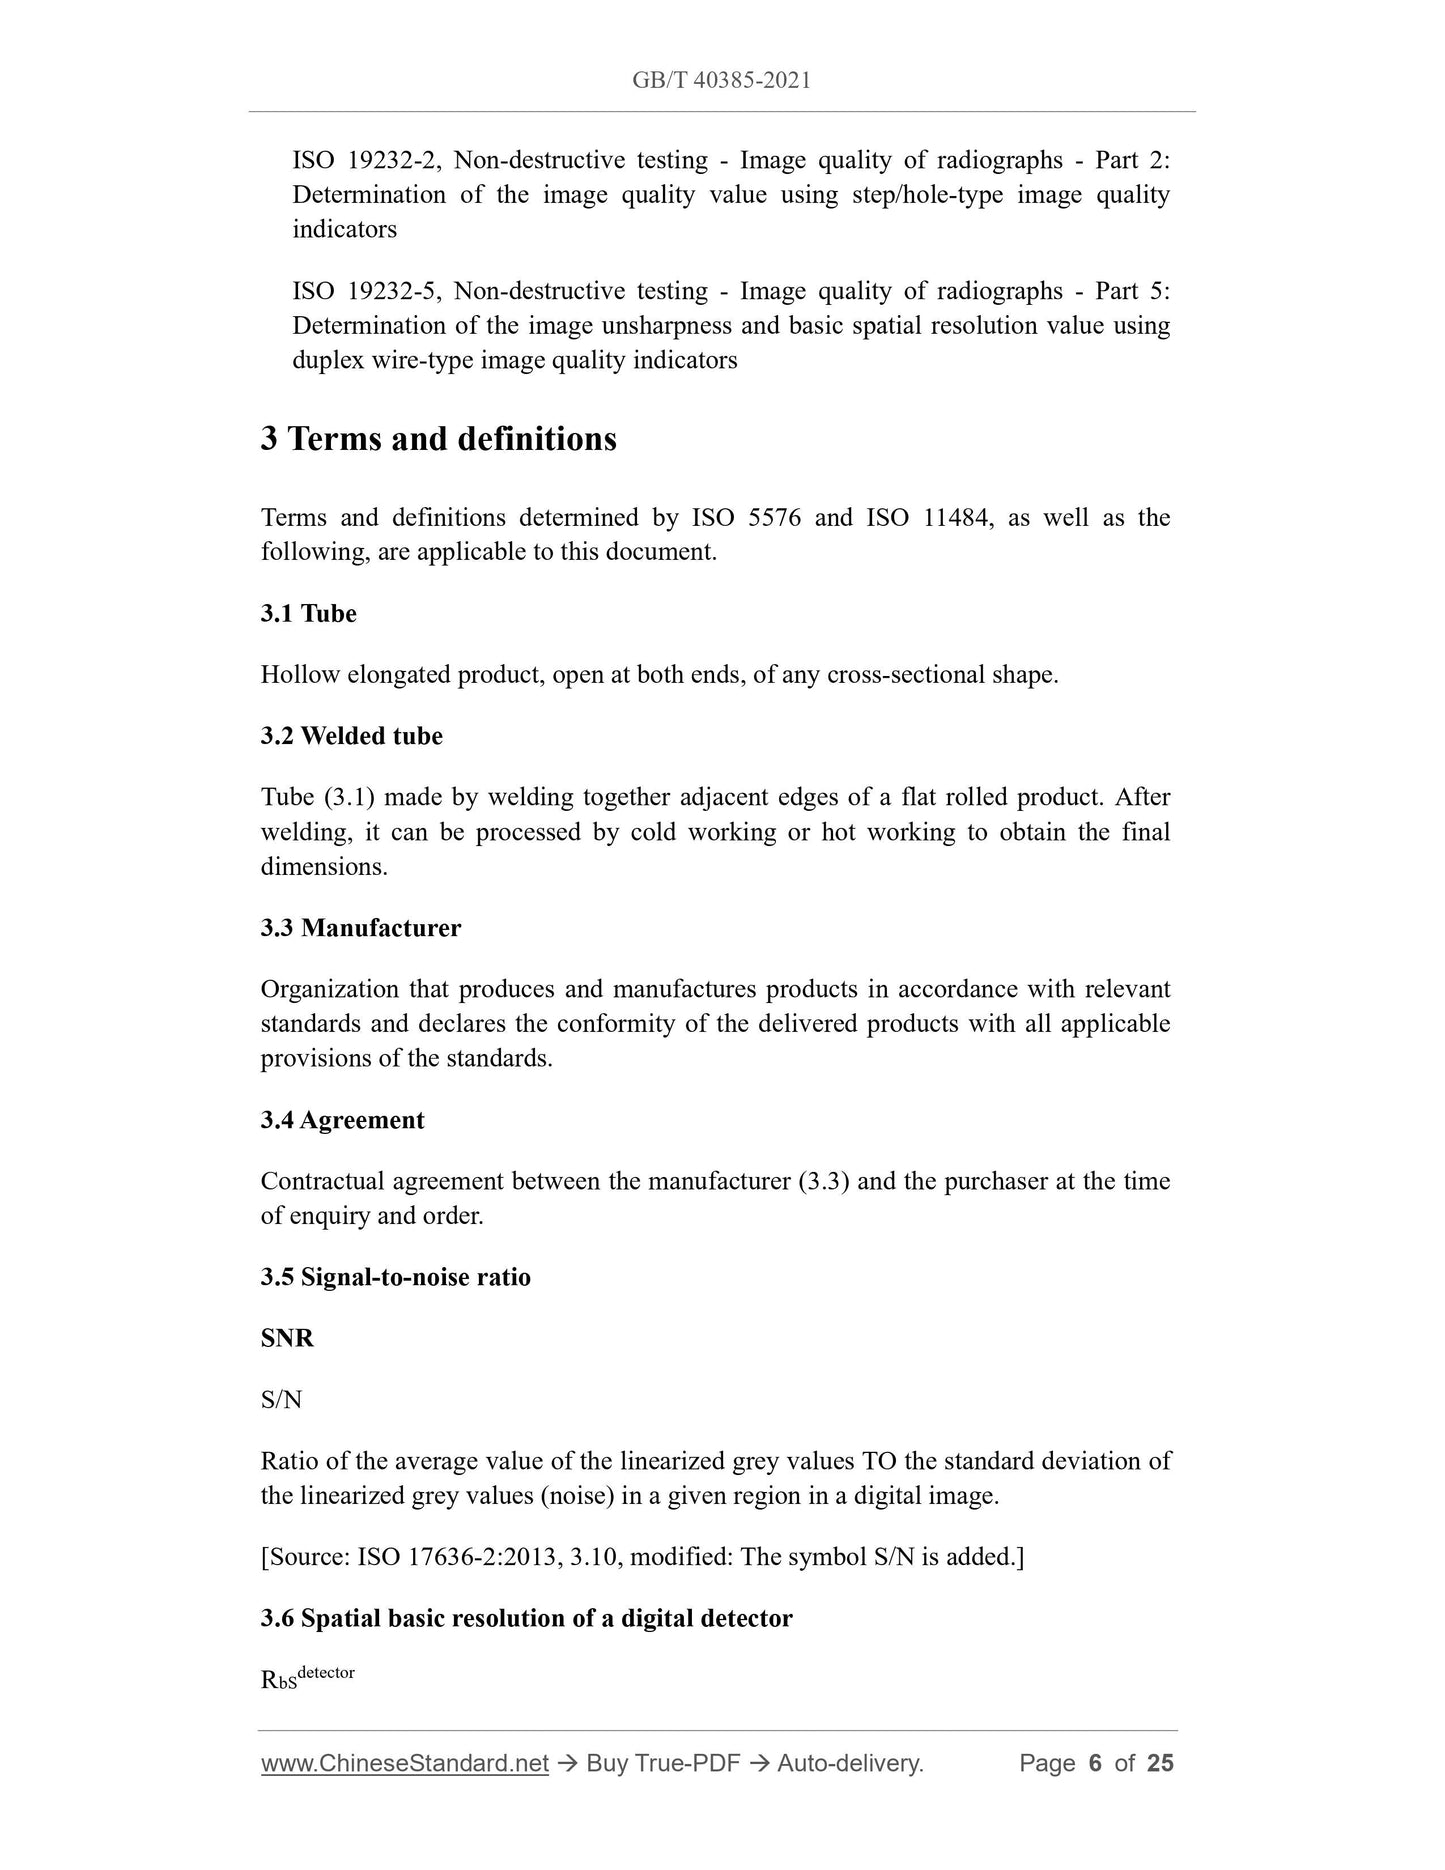
3 Terms and definitions
Terms and definitions determined by ISO 5576 and ISO 11484, as well as the
following, are applicable to this document.
3.1 Tube
Hollow elongated product, open at both ends, of any cross-sectional shape.
3.2 Welded tube
Tube (3.1) made by welding together adjacent edges of a flat rolled product. After
welding, it can be processed by cold working or hot working to obtain the final
dimensions.
3.3 Manufacturer
Organization that produces and manufactures products in accordance with relevant
standards and declares the conformity of the delivered products with all applicable
provisions of the standards.
3.4 Agreement
Contractual agreement between the manufacturer (3.3) and the purchaser at the time
of enquiry and order.
3.5 Signal-to-noise ratio
SNR
S/N
Ratio of the average value of the linearized grey values TO the standard deviation of
the linearized grey values (noise) in a given region in a digital image.
[Source: ISO 17636-2:2013, 3.10, modified: The symbol S/N is added.]
3.6 Spatial basic resolution of a digital detector
RbSdetector
The employer shall issue a testing (operation) authorization according to a written
procedure. The non-destructive testing (NDT) shall be authorized by a level 3 NDT
personnel approved by the employer.
Note: The definitions of levels 1, 2 and 3 personnel are shown in relevant standards
such as ISO 9712 and ISO 11484.
4.3 The tube under test shall be straight enough and shall be free of foreign matters,
so as to ensure the validity of the test. Surfaces of the weld seam and the adjacent
base material shall be free of foreign matters and surface irregularities, which may
interfere with the interpretation of the radiographic testing.
To gain an acceptable surface quality of the finished product, surface grinding is
permitted.
4.4 When the weld reinforcement is removed, markers (usually lead arrows) shall be
placed on both sides of the weld seam, so that the position of the weld seam can be
identified on the radiographic image; alternatively, an integrated automatic
positioning system can be used to identify the position of the weld seam.
4.5 Usually, the identification symbol, in the form of lead letters, shall be placed on
each part of the weld seam radiograph such that the lead letters are projected on the
radiographic image, so that the weld seam of each part can be clearly identified in
the radiographic image; alternatively, an integrated automatic positioning system can
be used to identify the position of the tube weld seam corresponding to each
radiographic image.
4.6 Marks shall be displayed on the radiographic images to provide accurate position
reference points for each radiographic image; alternatively, the automatic
measurement may be carried out on the digital image viewing screen by software to
achieve accurate positioning of the image.
4.7 When the size of the detector is smaller than the length of the penetrated weld
seam, the steel tube or the detector shall be moved in a step-by-step mode, and the
digital radiographic testing shall be performed when the steel tube is not moving.
Warning – Exposure of any part of the human body to X-rays can be highly
injurious to health. Wherever X-ray equipment is used, appropriate safety
measures shall be applied. National safety precautions shall be strictly applied.
5 Test equipment
The following digital imaging methods can be used instead of the radiographic film
testing:
a) Computed radiography (CR) using storage fluorescent material imaging plates
(such as EN 14784-1[21] or GB/T 21355[1], EN 14784-2[22] or GB/T 26642[2]);
b) Radiology using digital detector arrays (such as ASTM E2597-07[14] or GB/T
38240[4], ASTM E2698[15] or GB/T 35388[3]);
c) Digital radiographic testing method using image integration (such as EN
13068-1[18] or GB/T 23909.1[5], EN 13068-2[19] or GB/T 23909.2[6], EN
13068-3[20] or GB/T 23909.3[7]).
6 Test method
6.1 The digital radiographic testing technique specified in a) ~ c) of Chapter 5 shall
be used to inspect the weld seam.
6.2 According to the provisions of ISO 17636-2, the image quality classes shall be
divided into A and B:
a) Class ...
View full details