Skip to product information
1 of 8

PayPal, credit cards. Download editable-PDF and invoice in 1 second!

GB/T 231.1-2018 English PDF (GBT231.1-2018)

GB/T 231.1-2018 English PDF (GBT231.1-2018)

Regular price $260.00 USD
Regular price Sale price $260.00 USD
Sale Sold out
Shipping calculated at checkout.
Delivery: 3 seconds. Download true-PDF + Invoice.
Get QUOTATION in 1-minute: Click GB/T 231.1-2018
Historical versions: GB/T 231.1-2018
Preview True-PDF (Reload/Scroll if blank)

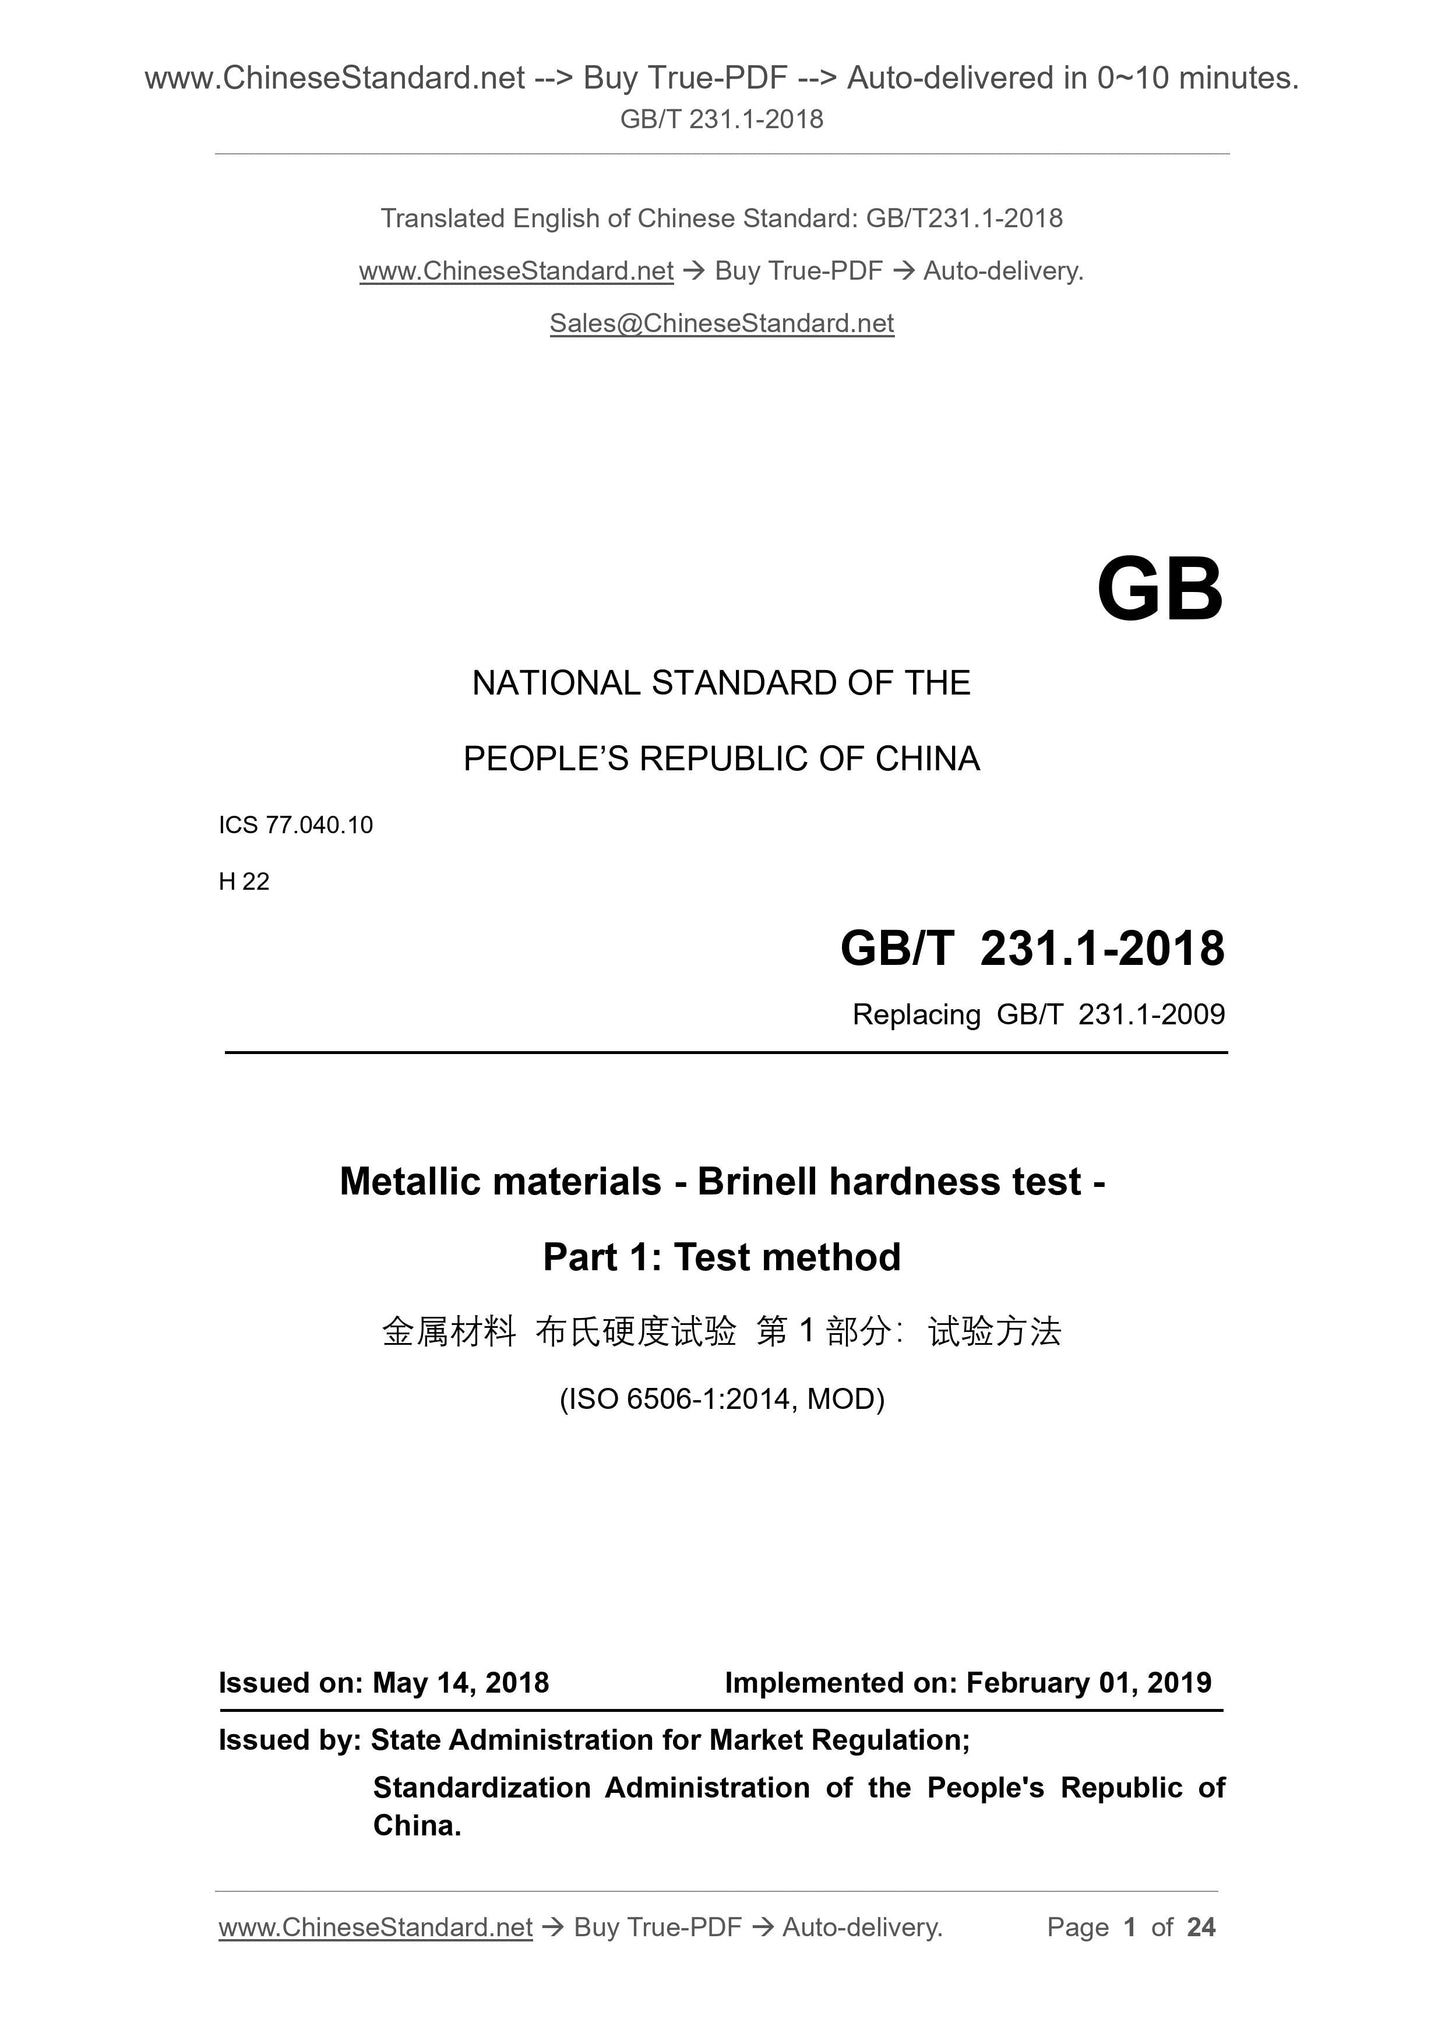
GB/T 231.1-2018: Metallic materials -- Brinell hardness test -- Part 1: Test method
GB/T 231.1-2018
GB
NATIONAL STANDARD OF THE
PEOPLE’S REPUBLIC OF CHINA
ICS 77.040.10
H 22
Replacing GB/T 231.1-2009
Metallic materials - Brinell hardness test -
Part 1. Test method
(ISO 6506-1.2014, MOD)
ISSUED ON. MAY 14, 2018
IMPLEMENTED ON. FEBRUARY 01, 2019
Issued by. State Administration for Market Regulation;
Standardization Administration of the People's Republic of
China.
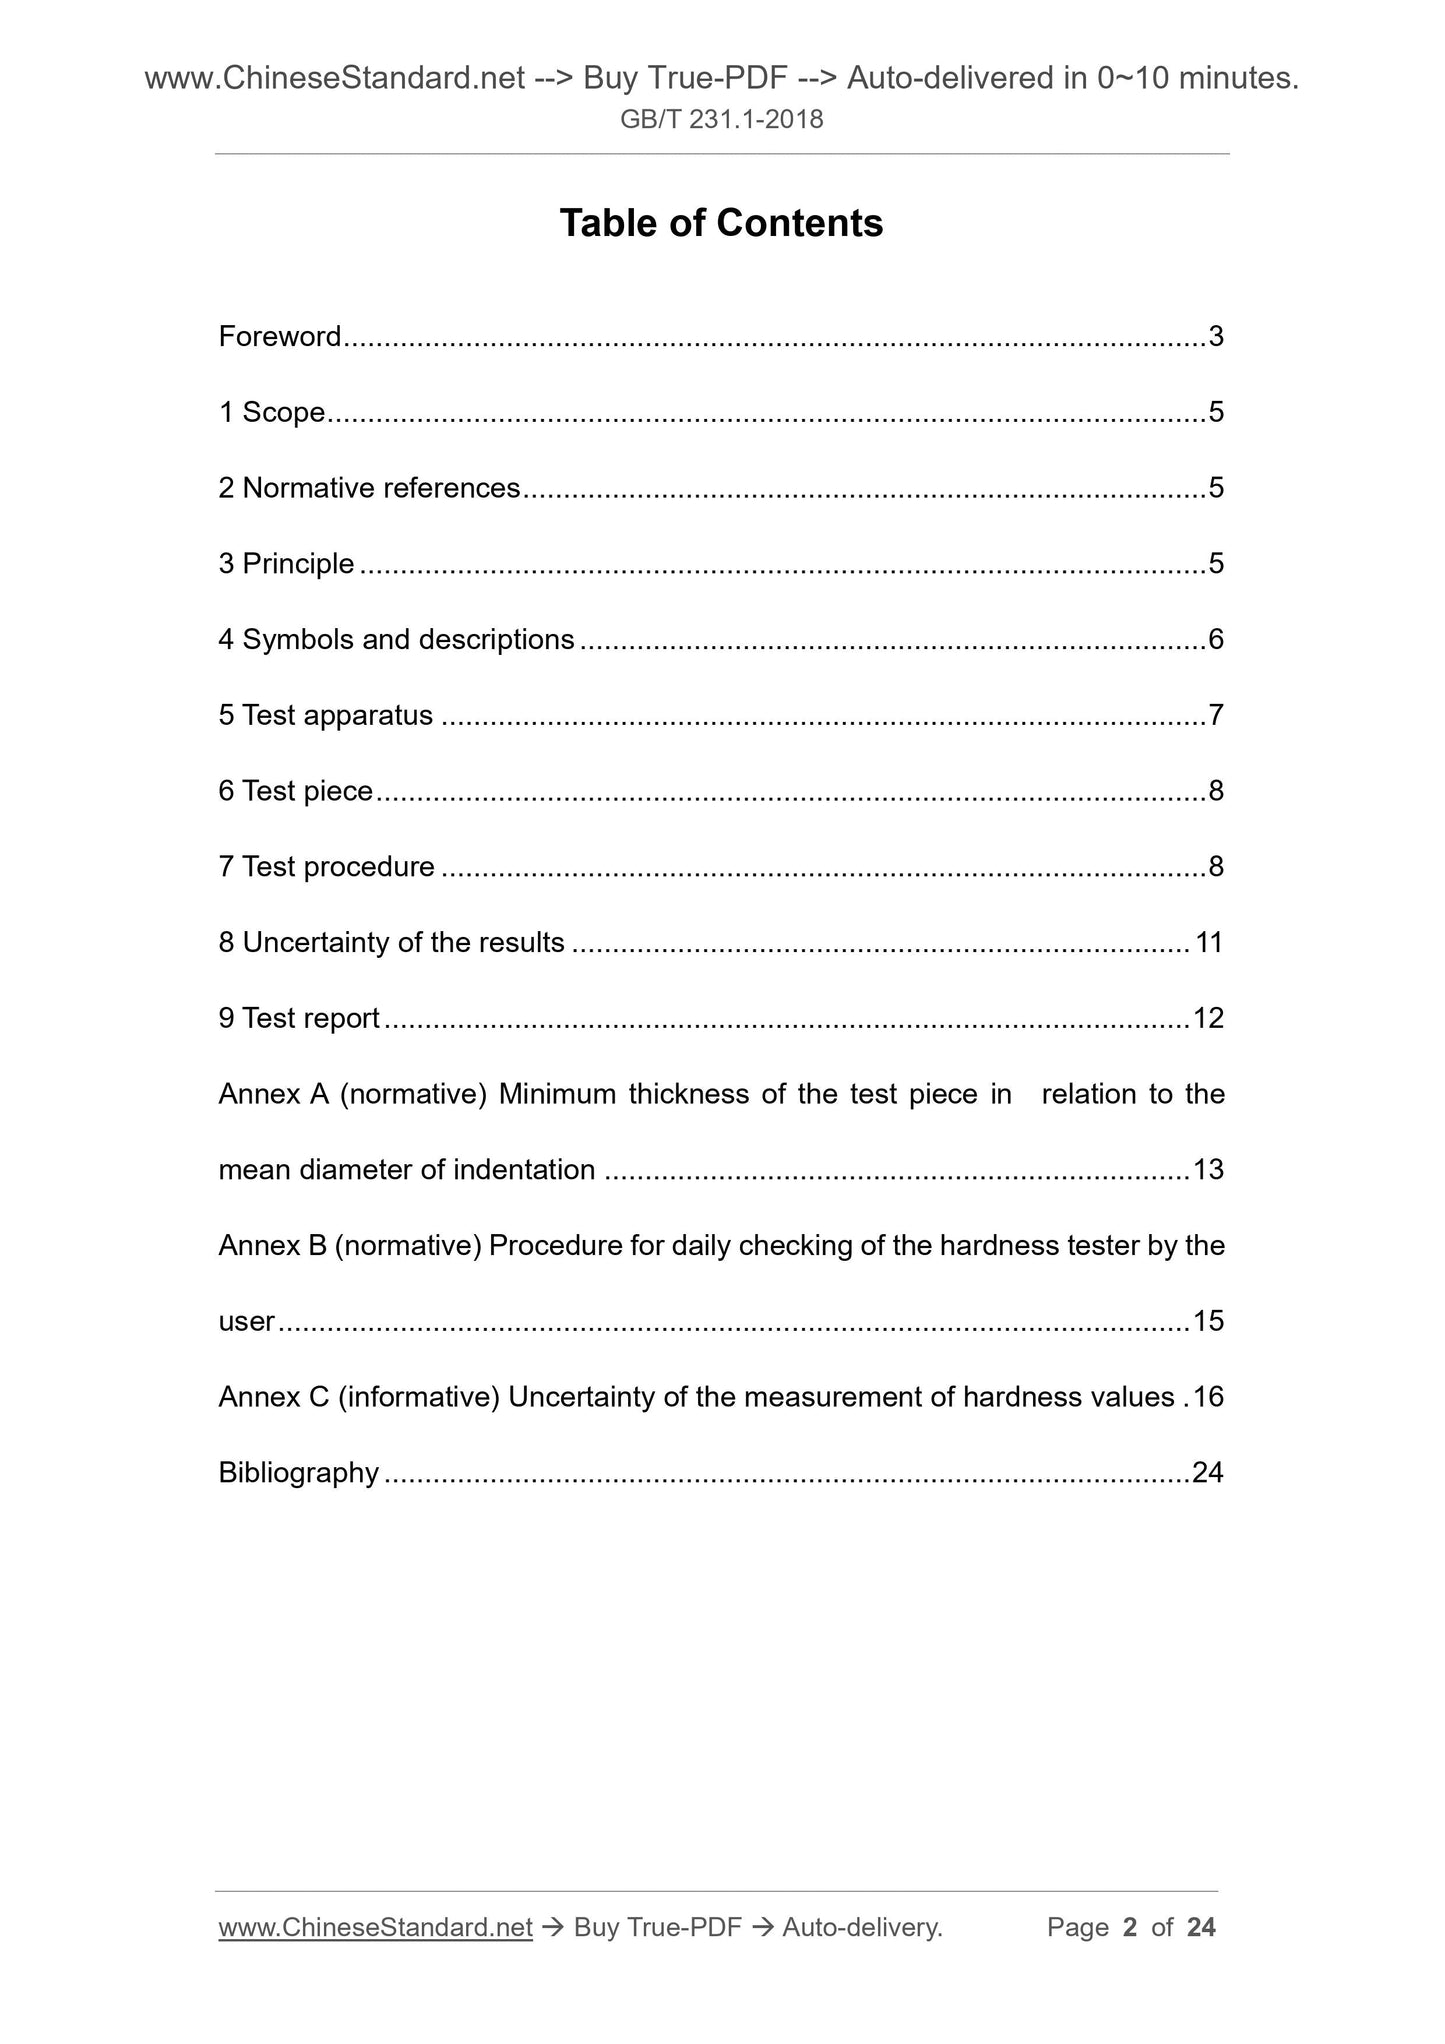
Table of Contents
Foreword ... 3
1 Scope ... 5
2 Normative references ... 5
3 Principle ... 5
4 Symbols and descriptions ... 6
5 Test apparatus ... 7
6 Test piece ... 8
7 Test procedure ... 8
8 Uncertainty of the results ... 11
9 Test report ... 12
Annex A (normative) Minimum thickness of the test piece in relation to the
mean diameter of indentation ... 13
Annex B (normative) Procedure for daily checking of the hardness tester by the
user ... 15
Annex C (informative) Uncertainty of the measurement of hardness values . 16
Bibliography ... 24
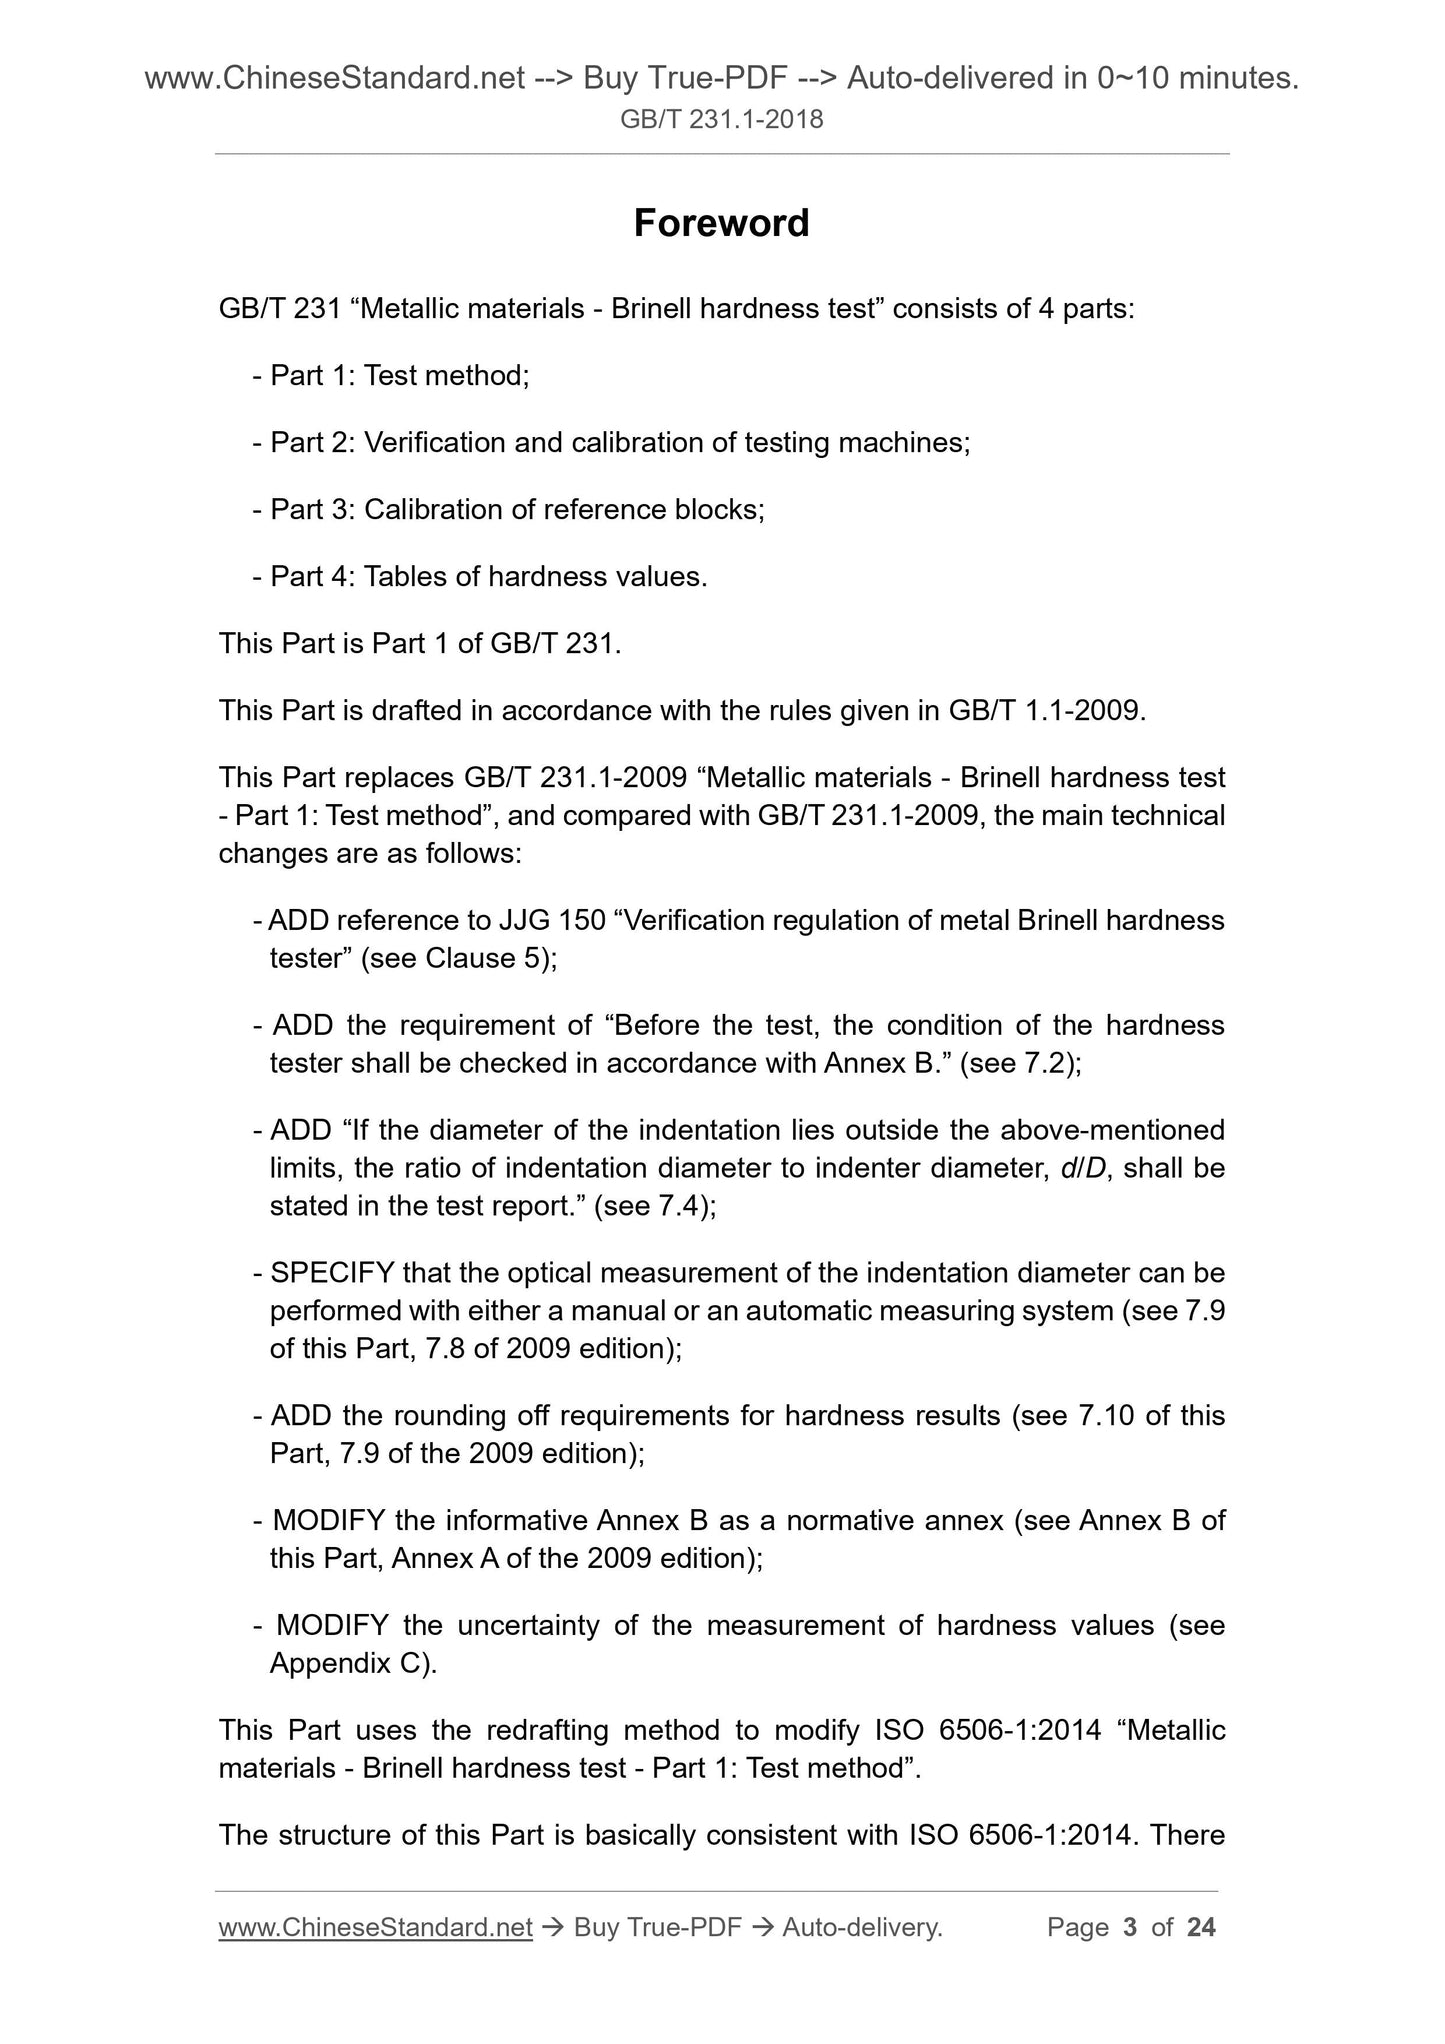
Foreword
GB/T 231 “Metallic materials - Brinell hardness test” consists of 4 parts.
- Part 1. Test method;
- Part 2. Verification and calibration of testing machines;
- Part 3. Calibration of reference blocks;
- Part 4. Tables of hardness values.
This Part is Part 1 of GB/T 231.
This Part is drafted in accordance with the rules given in GB/T 1.1-2009.
This Part replaces GB/T 231.1-2009 “Metallic materials - Brinell hardness test
- Part 1. Test method”, and compared with GB/T 231.1-2009, the main technical
changes are as follows.
- ADD reference to JJG 150 “Verification regulation of metal Brinell hardness
tester” (see Clause 5);
- ADD the requirement of “Before the test, the condition of the hardness
tester shall be checked in accordance with Annex B.” (see 7.2);
- ADD “If the diameter of the indentation lies outside the above-mentioned
limits, the ratio of indentation diameter to indenter diameter, d/D, shall be
stated in the test report.” (see 7.4);
- SPECIFY that the optical measurement of the indentation diameter can be
performed with either a manual or an automatic measuring system (see 7.9
of this Part, 7.8 of 2009 edition);
- ADD the rounding off requirements for hardness results (see 7.10 of this
Part, 7.9 of the 2009 edition);
- MODIFY the informative Annex B as a normative annex (see Annex B of
this Part, Annex A of the 2009 edition);
- MODIFY the uncertainty of the measurement of hardness values (see
Appendix C).
This Part uses the redrafting method to modify ISO 6506-1.2014 “Metallic
materials - Brinell hardness test - Part 1. Test method”.
The structure of this Part is basically consistent with ISO 6506-1.2014. There
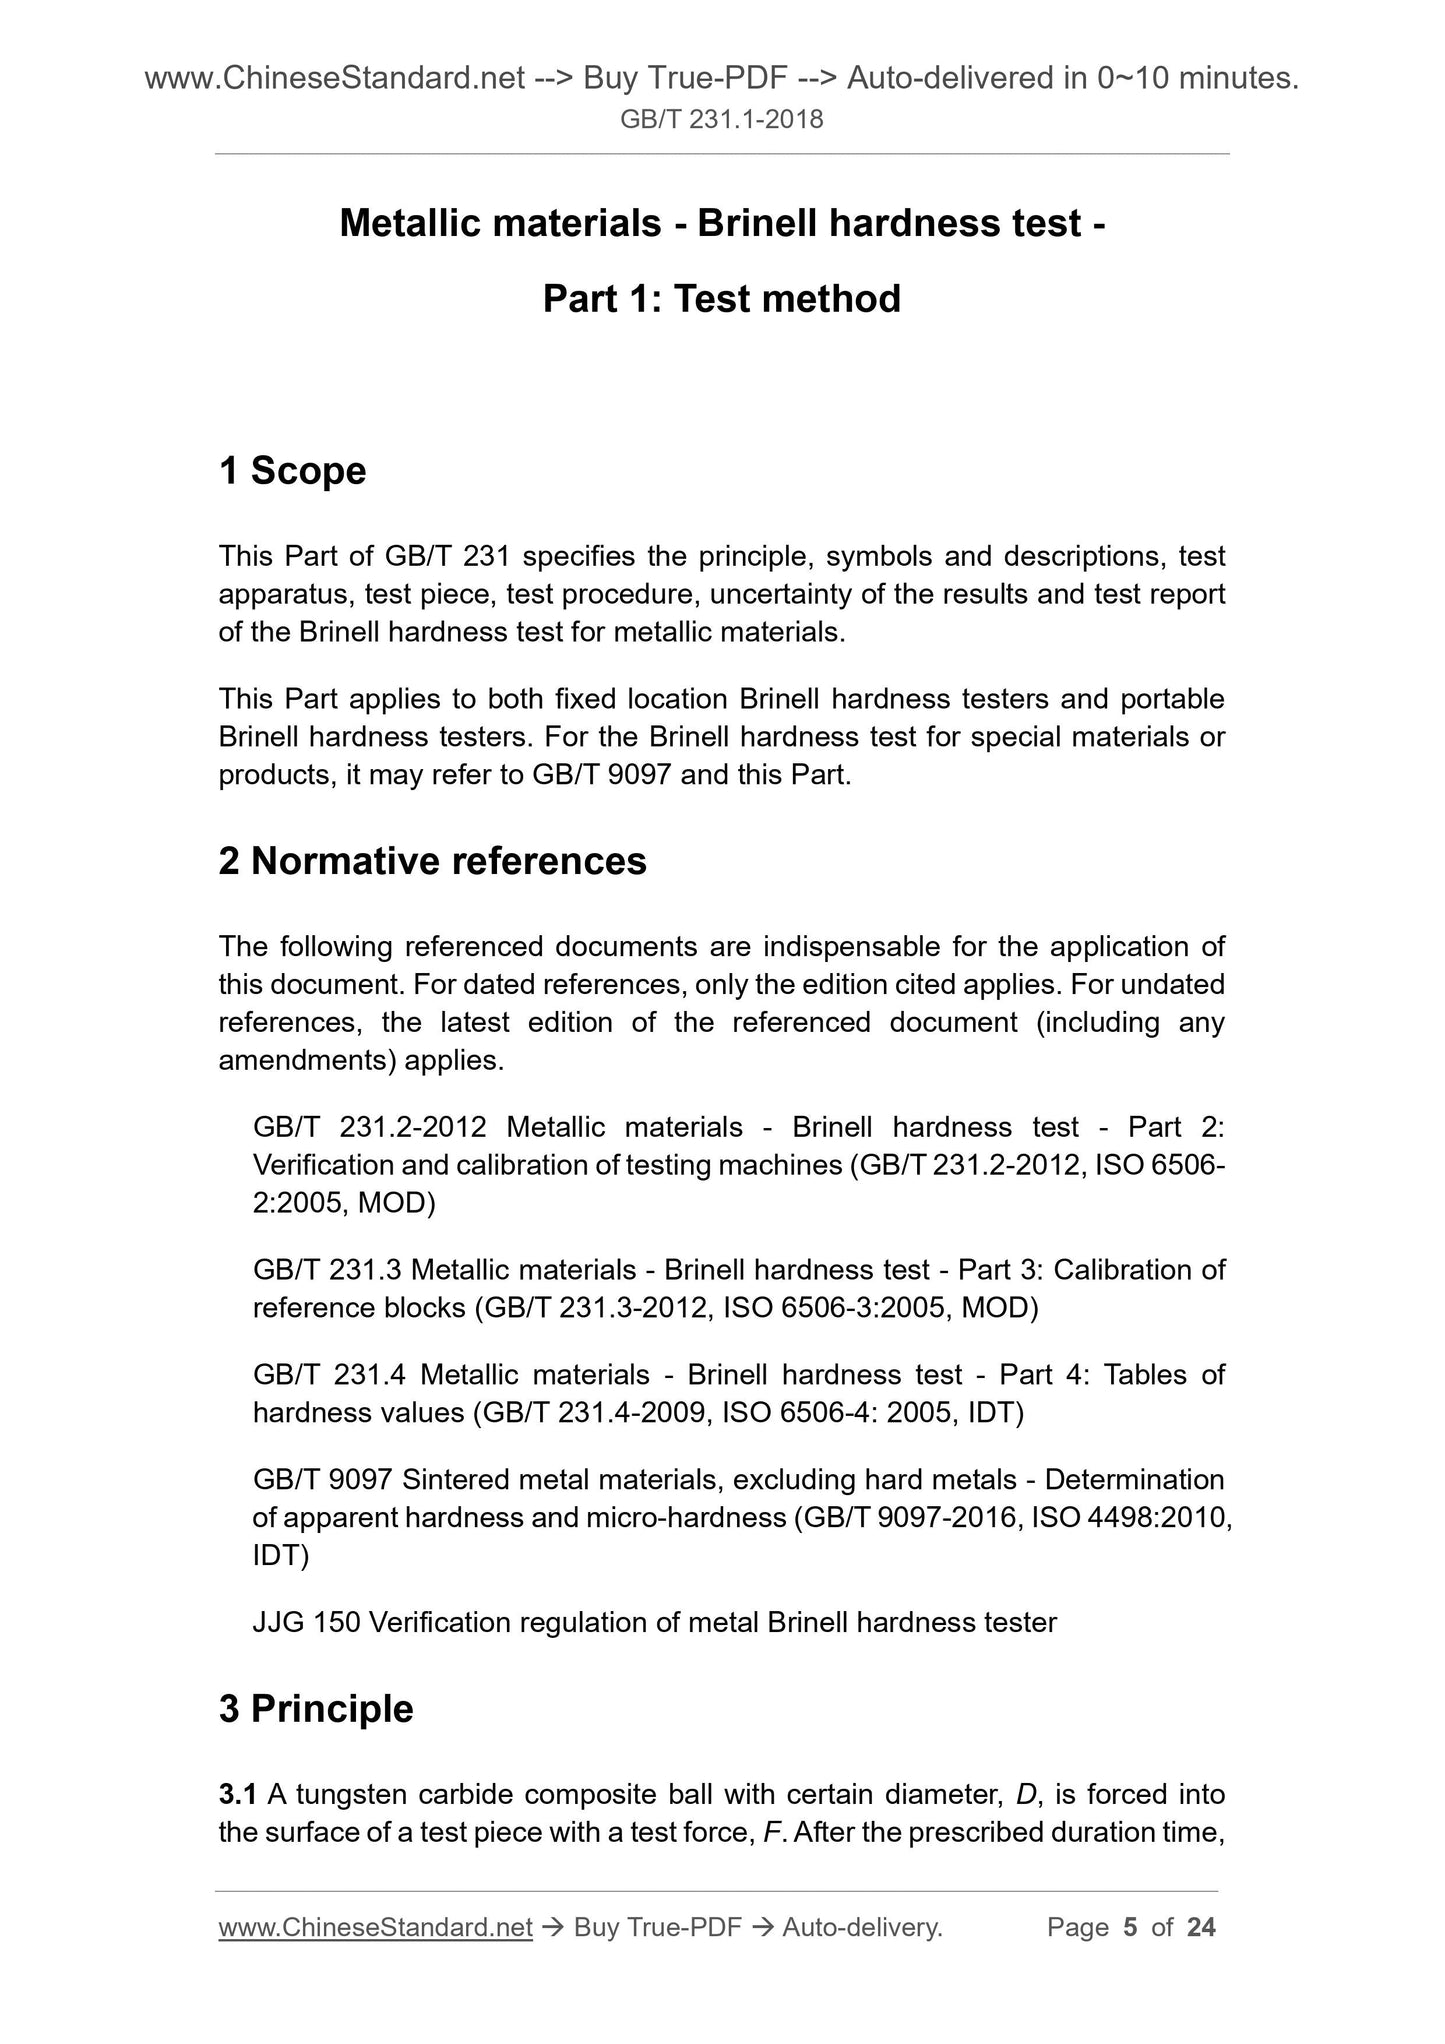
Metallic materials - Brinell hardness test -
Part 1. Test method
1 Scope
This Part of GB/T 231 specifies the principle, symbols and descriptions, test
apparatus, test piece, test procedure, uncertainty of the results and test report
of the Brinell hardness test for metallic materials.
This Part applies to both fixed location Brinell hardness testers and portable
Brinell hardness testers. For the Brinell hardness test for special materials or
products, it may refer to GB/T 9097 and this Part.
2 Normative references
The following referenced documents are indispensable for the application of
this document. For dated references, only the edition cited applies. For undated
references, the latest edition of the referenced document (including any
amendments) applies.
GB/T 231.2-2012 Metallic materials - Brinell hardness test - Part 2.
Verification and calibration of testing machines (GB/T 231.2-2012, ISO 6506-
2.2005, MOD)
GB/T 231.3 Metallic materials - Brinell hardness test - Part 3. Calibration of
reference blocks (GB/T 231.3-2012, ISO 6506-3.2005, MOD)
GB/T 231.4 Metallic materials - Brinell hardness test - Part 4. Tables of
hardness values (GB/T 231.4-2009, ISO 6506-4. 2005, IDT)
GB/T 9097 Sintered metal materials, excluding hard metals - Determination
of apparent hardness and micro-hardness (GB/T 9097-2016, ISO 4498.2010,
IDT)
JJG 150 Verification regulation of metal Brinell hardness tester
3 Principle
3.1 A tungsten carbide composite ball with certain diameter, D, is forced into
the surface of a test piece with a test force, F. After the prescribed duration time,
7.7 Throughout the test, the hardness tester shall be protected from shock or
vibration, which can influence the test result.
7.8 The distance from the edge of the test piece to the centre of each
indentation shall be at least 2.5 times the mean indentation diameter. The
distance between the centres of two adjacent indentations shall be at least 3
times the mean indentation diameter.
7.9 The optical measurement of the indentation diameter can be performed with
either a manual or an automatic measuring system. The visual field for the
optical measuring device shall be evenly illuminated, and the condition of
illumination shall be unchanged from that used during the hardness tester’s
direct and indirect verifications and its daily verification. The two measuring
methods are as follows.
a) For manual measuring systems, measure the diameter of each
indentation in two directions approximately perpendicular to each other.
The arithmetic mean of the two readings shall be taken for the calculation
of the Brinell hardness. For test pieces with a ground surface, it is
recommended that the direction of the indentation measurements be at
approximately 45° to the direction of grinding.
NOTE. It shall be noted that for anisotropic materials, for example those which have been
heavily coldworked, there might be a difference between the lengths of the two diameters of
the indentation. The specification for the product might indicate limits for such differences.
b) For automatic measuring systems, other validated algorithms to compute
the mean diameter are allowed. These algorithms include
- the average of a greater number of measurements;
- a measurement of the projected area of the indentation.
7.10 Calculate the Brinell hardness value of flat test pieces using the formula
given in Table 1, rounding the result to 3 significant figures. The Brinell hardness
value can also be determined using the hardness value table given in GB/T
231.4.
8 Uncertainty of the results
8.1 A complete evaluation of the uncertainty may be done according to
Reference [1] and [2].
8.2 For hardness test, independent of the type of sources, there are two
evaluation methods for the measurement of the uncertainty.
- One is based on the evaluation of all relevant uncertainty components
appearing during a direct calibration[3].
- One is based on indirect calibration using a hardness reference block
(certified reference material), the evaluation method is given in Annex
C[3],[4],[5],[6].
8.3 It may not always be possible to quantify the contributions of all the
identified components to the uncertainty. In this case, an estimate of type A
standard uncertainty can be obtained from the statistical analysis of repeated
tests on the test piece. Care shall be taken, if standard uncertainties of type A
and B are summarized, that the contributions of each component are not
counted twice[2].
9 Test report
Unless otherwise specified, at least the following information shall be included
in the test report.
a) a reference to this Part of GB/T 231;
b) the detailed description of the test piece;
c) the date of the test;
d...
View full details